图像采集
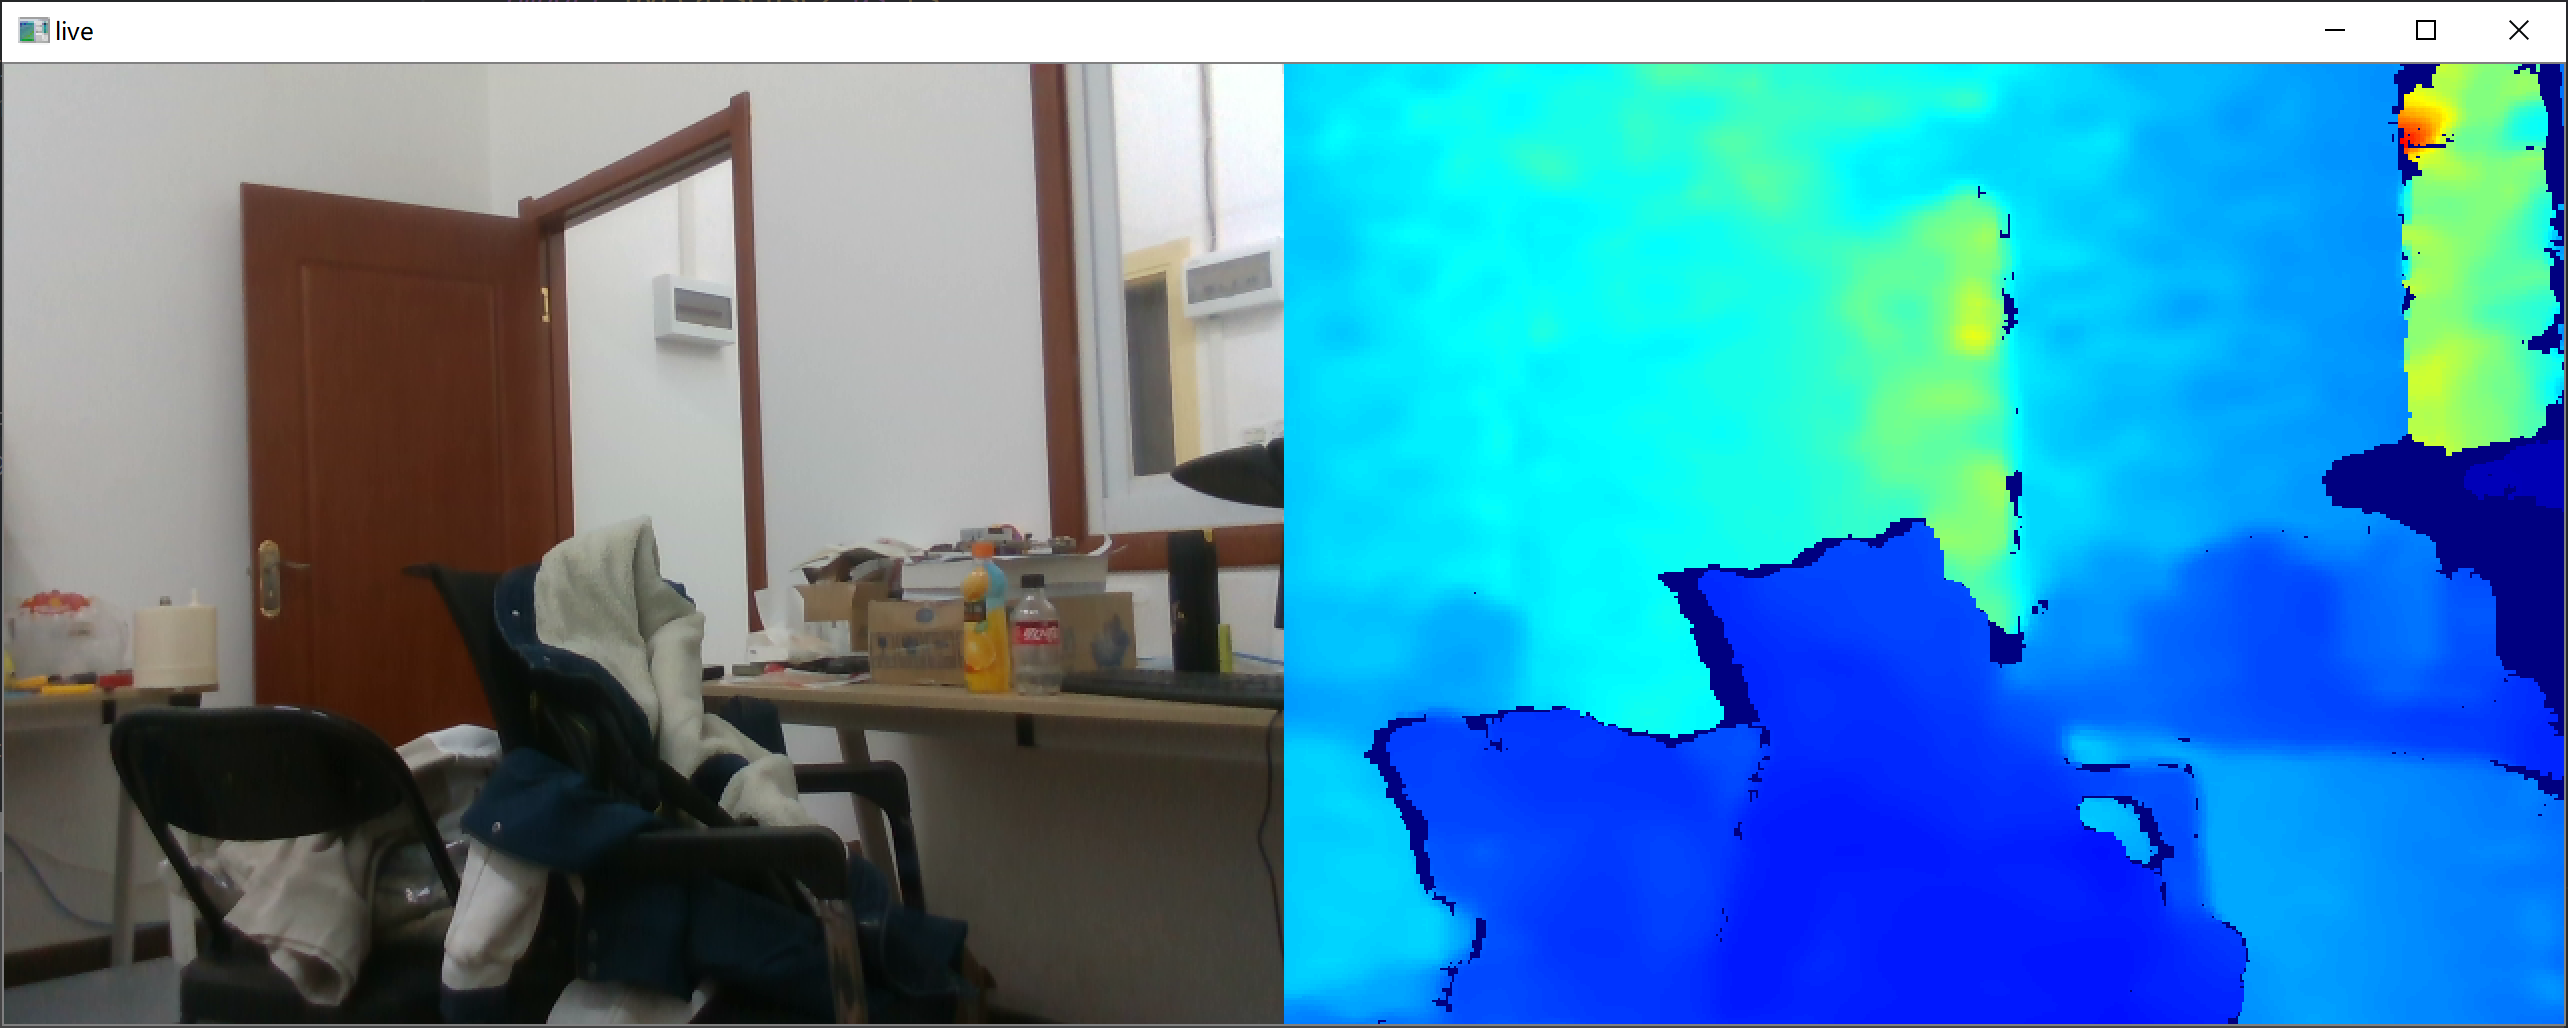
realsense直接读取出来的彩色图片和深度图片是没有对齐的,读取出来的两张图片像素之间没有一一对应。但是一般使用两张图片是需要对齐的,并且直接利用深度信息。
以下程序为了更加方便的采集数据。
程序运行后q退出,s保存图片。
1
2
3
4
5
6
7
8
9
10
11
12
13
14
15
16
17
18
19
20
21
22
23
24
25
26
27
28
29
30
31
32
33
34
35
36
37
38
39
40
41
42
43
44
45
46
47
48
49
50
51
52
53
54
55
56
57
58
59
60
61
62
63
64
65
66
67
68
69
70
71
72
73
| import pyrealsense2 as rs
import numpy as np
import cv2
import time
import os
pipeline = rs.pipeline()
config = rs.config()
config.enable_stream(rs.stream.depth, 640, 480, rs.format.z16, 30)
config.enable_stream(rs.stream.color, 640, 480, rs.format.bgr8, 30)
profile = pipeline.start(config)
depth_sensor = profile.get_device().first_depth_sensor()
depth_scale = depth_sensor.get_depth_scale()
print("Depth Scale is: " , depth_scale)
align_to = rs.stream.color
align = rs.align(align_to)
save_path = os.path.join(os.getcwd(), "out", time.strftime("%Y_%m_%d_%H_%M_%S", time.localtime()))
os.mkdir(save_path)
os.mkdir(os.path.join(save_path, "color"))
os.mkdir(os.path.join(save_path, "depth"))
cv2.namedWindow("live", cv2.WINDOW_AUTOSIZE)
cv2.namedWindow("save", cv2.WINDOW_AUTOSIZE)
saved_color_image = None
saved_depth_mapped_image = None
saved_count = 0
try:
while True:
frames = pipeline.wait_for_frames()
aligned_frames = align.process(frames)
aligned_depth_frame = aligned_frames.get_depth_frame()
color_frame = aligned_frames.get_color_frame()
if not aligned_depth_frame or not color_frame:
continue
depth_data = np.asanyarray(aligned_depth_frame.get_data(), dtype="float16")
depth_image = np.asanyarray(aligned_depth_frame.get_data())
color_image = np.asanyarray(color_frame.get_data())
depth_mapped_image = cv2.applyColorMap(cv2.convertScaleAbs(depth_image, alpha=0.03), cv2.COLORMAP_JET)
cv2.imshow("live", np.hstack((color_image, depth_mapped_image)))
key = cv2.waitKey(30)
if key & 0xFF == ord('s'):
saved_color_image = color_image
saved_depth_mapped_image = depth_mapped_image
cv2.imwrite(os.path.join((save_path), "color", "{}.png".format(saved_count)), saved_color_image)
np.save(os.path.join((save_path), "depth", "{}".format(saved_count)), depth_data)
saved_count+=1
cv2.imshow("save", np.hstack((saved_color_image, saved_depth_mapped_image)))
if key & 0xFF == ord('q') or key == 27:
cv2.destroyAllWindows()
break
finally:
pipeline.stop()
|
保存后的图像读取
1
2
3
4
5
6
7
8
9
10
11
12
13
14
15
16
| import cv2
import numpy as np
import matplotlib.pyplot as plt
if __name__ == "__main__":
color_image = cv2.imread("./0.png")
depth_image = np.load("./0.npy")
cv2.imshow("color", color_image)
plt.imshow(depth_image.astype(np.int), "gray")
plt.show()
cv2.waitKey()
|